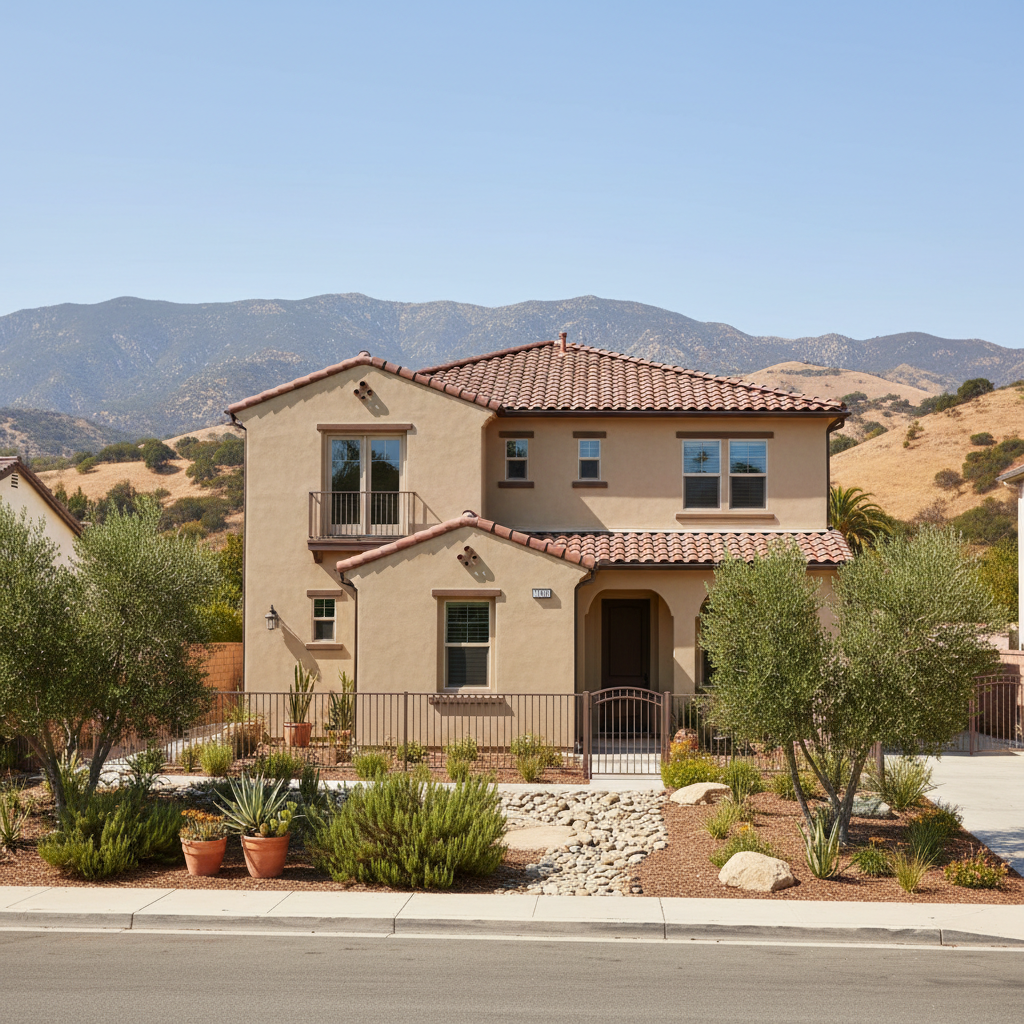
Thinking About Redashing Your Stucco?
So, you've been staring at your home's stucco, huh? Maybe it's got those tiny hairline cracks, or the color's just faded out, or it simply looks a bit tired. A stucco redash can really make your place feel brand new, protect what's probably your biggest investment, and even give your curb appeal a nice little kick. But it's not just about slapping on some new mud; there's a real process involved. Knowing what to expect ahead of time just makes everything go smoother for everyone.
What's the Timeline Look Like?
Let's talk about how long this takes. This isn't a job we can finish overnight, and trying to rush it almost always causes problems later on. For most average-sized homes right here in Claremont, you're probably looking at somewhere between 1 and 3 weeks from when we start to when we're completely done. That timeframe includes all the prep work, actually applying the stucco, and the crucial drying times. Bigger or more complicated homes, especially ones with a lot of fancy architectural details or needing extensive repairs beforehand, could take longer, naturally. Weather plays a huge role too. We can't apply stucco when it's pouring rain, and extreme heat can mess with how it cures, though our dry Claremont summers are usually pretty ideal for it. We'll always give you a much more precise estimate once we've had a chance to see your property in person.
What Happens During the Redashing Process?
Okay, so what exactly goes down once we get started? First up, we protect everything. We'll mask off your windows, doors, any landscaping, and anything else we don't want stucco on. Then comes the prep work – and this part is absolutely critical. We'll clean the existing stucco, get rid of any loose or failing bits, and make all the necessary repairs. We're talking about fixing cracks, patching holes, and just making sure the surface is solid. Sometimes, especially with older homes in places like the Claremont Village, you might find some hidden issues once we start digging in, but we'll always talk through those with you right away.
Next, we put on a bonding agent. This stuff helps the new stucco stick properly to the old. Then comes the fun part: applying the new finish coat. This is where the color and texture you picked really come to life. Depending on the finish you choose, it might be one or two coats. After we apply it, there's a curing period. This is when the stucco dries and hardens. We might mist it with water during this time, especially on really hot days, just to make sure it cures correctly and doesn't dry out too fast. Finally, we clean up the whole site, take away all our protection, and you're left with a beautiful, refreshed exterior. Pretty neat, right?
How Can You Prepare Your Home?
Your preparation really does make a big difference. Before our crew arrives, here's what you can do:
- Clear the Perimeter: Move outdoor furniture, grills, potted plants, and anything else away from the house. We need clear access, usually about 3-4 feet, all around the exterior.
- Trim Landscaping: If you have bushes or trees right up against the house, give them a good trim. This protects your plants and gives us the space we need to work without damaging your greenery.
- Secure Pets: Keep your pets indoors or in a secure, enclosed area away from the work zone. We'll have equipment, materials, and people moving around, and we don't want anyone getting hurt.
- Access to Utilities: We'll need access to exterior water spigots and electrical outlets. Make sure they're clear and working.
- Inform Neighbors: It's a good idea to let your immediate neighbors know about the project. There will be some noise and activity, and a heads-up usually goes a long way.
- Consider Access: If you have a narrow side yard or a tricky spot, please let us know beforehand. We can plan our equipment and material placement accordingly, avoiding any surprises.
Questions to Ask Before Signing the Contract
Before you commit to anything, you should feel totally comfortable with your contractor. Don't be shy about asking questions. Here are a few important ones:
- What's your exact process for a redash? Make sure they detail the steps, from prep to the final finish.
- What kind of repairs are included, and what costs extra? Get clarity on things like crack repair, patching, and any potential surprises.
- How do you handle unexpected issues? Sometimes we uncover dry rot or water damage once we start. You need to know how they'll communicate this and what the cost implications might be.
- What specific materials are you using? Ask about the brand and type of stucco, bonding agents, and any sealers they plan to use.
- What's the warranty on your work? A reputable company like Majestic Stucco will stand behind their craftsmanship, so ask about it.
- Can you provide references from recent redashing projects? Seeing their work firsthand or talking to past clients is invaluable, don't you think?
- What's the payment schedule? Understand when deposits are due, any progress payments, and the final payment.
- Are you licensed and insured? Always verify this. It protects you if something goes wrong.
- Who will be the main point of contact during the project? You want to know who to call with questions or concerns.
A stucco redash is a significant investment in your home. Doing your homework and knowing what to expect will help ensure a smooth project and a result you'll love for years to come.