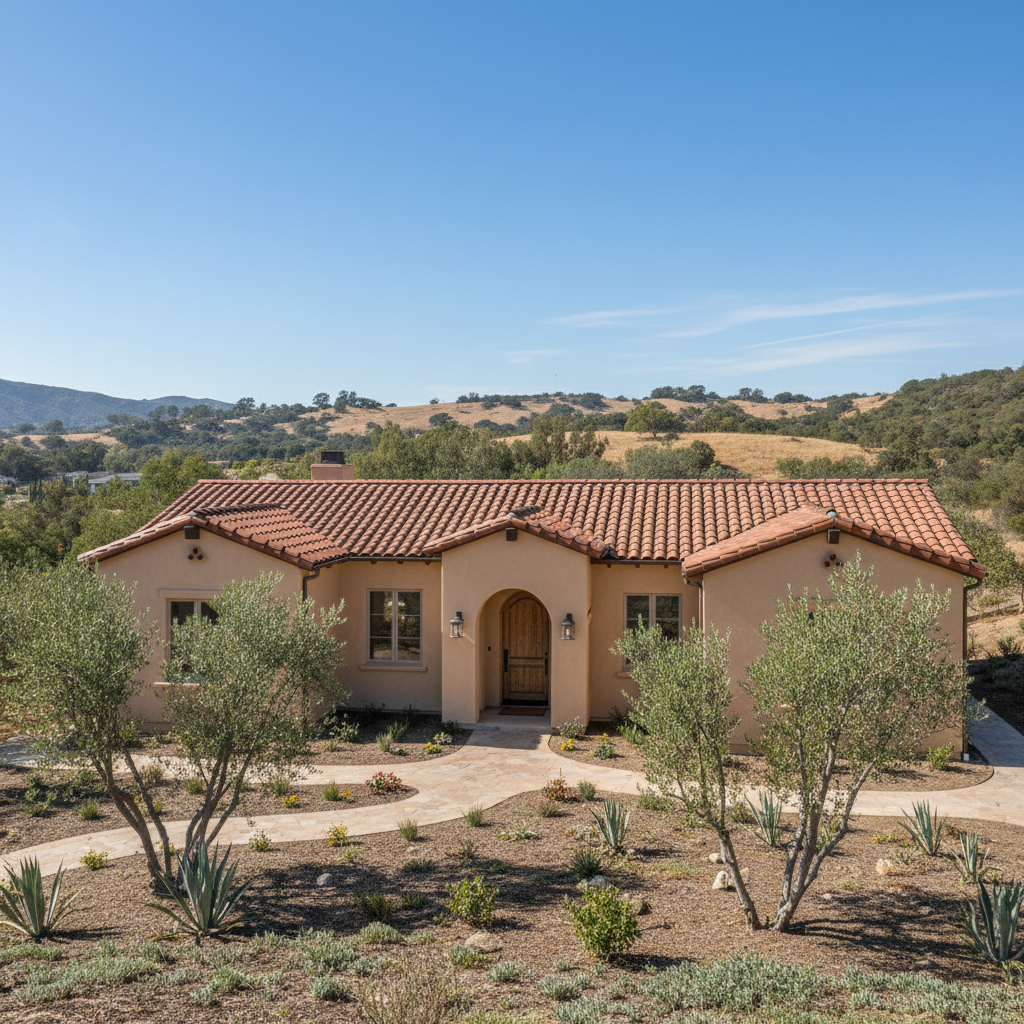
Thinking about a stucco project for your home? Good call. Stucco's a fantastic, durable finish, especially here in Claremont, where we get those hot, dry summers and, let's be honest, those sometimes surprising winter rains. But it's not just about slapping mud on a wall. There's a real process involved, and knowing what to expect from the get-go can save you a ton of headaches. Plus, it helps make sure you end up with the finish you've been dreaming of.
Setting the Timeline: What You Can Expect
How long does a stucco project actually take? That's probably the first thing most homeowners ask me. The honest answer? It really depends. It hinges on your home's size, how complex the architectural details are, the weather, and whether we're doing a simple repair, re-stuccoing over what's already there, or a full tear-off and re-stucco job.
For a typical residential re-stucco on an average-sized Claremont home, you're usually looking at anywhere from two to four weeks, start to finish. That timeframe covers all the prep work, actually putting the stucco on, and then letting it cure. If it's just a smaller repair, that might take a few days. A big, intricate custom home, though, could easily stretch out to six weeks or even longer.
Weather plays a huge part, too. We can't apply stucco when it's pouring rain, obviously. And while our Claremont weather is generally pretty cooperative, those unexpected downpours, especially in late winter or early spring, can definitely push things back. Stucco also needs time to cure properly between coats; you just can't rush that. A good contractor factors these things into their timeline, so don't be surprised if the initial estimate has a little wiggle room built in.
What Happens During the Stucco Process?
Once we get started, here's a general rundown of what you'll see:
- Protection and Prep: First up, we protect everything that won't be getting stucco. That means covering windows, doors, landscaping, driveways — anything you want to keep clean. We'll also take off old fixtures, downspouts, and anything else attached to the walls. If we're re-stuccoing over existing stucco, we'll clean the surface really well and fix any old stucco issues. If it's a tear-off, well, that's exactly what it sounds like: we remove the old material right down to the sheathing.
- Lath and Paper: For new construction or tear-offs, we'll put up a weather-resistive barrier (that's building paper) and then the metal lath. This lath is what the stucco actually keys into, giving it strength and helping it stick. It's a super important step for proper drainage and a solid base.
- Scratch Coat: This is the first stucco layer. We apply it right onto the lath, pushing it into the mesh, then scratch it horizontally to create a rough surface. This rough texture helps the next coat grab on. It needs time to cure, usually a day or two.
- Brown Coat: The second layer, or brown coat, goes over the scratch coat. This is where we really start to get the wall straight and plumb. We float it smooth and even, getting the surface ready for the final finish. This also needs its own curing time.
- Finish Coat: Now for the exciting part – the color and texture you picked! This final coat goes on, then we texture it exactly to your specifications, whether that's a smooth Santa Barbara finish, a sand finish, or something else entirely. This is what you'll look at every day, so we take our time to get it just right.
- Clean Up and Final Touches: Once the finish coat is done and cured, we'll remove all the protection, put fixtures back, and do a really thorough clean-up. We'll also do a final walk-through with you to make sure everything meets your expectations.
How to Prepare Your Home
You can actually help make the whole process smoother. Start by clearing the perimeter of your house. Move patio furniture, potted plants, and anything else that's close to the walls. Trim back any bushes or trees directly against the house — we'll need clear access, after all. If you have pets, plan for where they'll be during the day, as there will be noise and activity. Oh, and it's also a good idea to let your neighbors know work will be happening; a heads-up goes a long way, doesn't it?
Questions to Ask Before You Sign
Before you commit to a contractor, ask these questions. Don't be shy; a good contractor will appreciate you being thorough:
- What's your license number and insurance? Always verify both. You want to make sure they're legitimate and covered.
- Can I see some references or examples of your work in Claremont? Seeing local work helps you judge quality and consistency, especially with different stucco styles common in our area, like the older homes near the Village.
- What's included in the bid? Make sure it's itemized. Does it cover all materials, labor, protection, and clean-up? What about permits?
- What's your payment schedule? A reputable contractor won't ask for 50% or more upfront. Typically, it's a deposit, then progress payments, and a final payment once the job's done and you're happy.
- How do you handle unexpected issues? Sometimes we find dry rot or other problems once we start peeling back layers. How will they tell you about this, and what's the process for approving extra work?
- What kind of warranty do you offer? Ask about both labor and materials.
- How do you protect my property? Get specifics on how they'll cover windows, landscaping, and other vulnerable areas.
- What's the estimated start and completion date? And what happens if there are delays?
Choosing the right contractor for your stucco project is a big decision. We at Majestic Stucco believe in transparency and doing the job right. Asking these questions will help you find a contractor who shares that commitment and ensures your Claremont home gets the beautiful, long-lasting stucco it truly deserves.